www.1howmany.com
Example How to Make a Duct Tape Wallet
Hobbies & Crafts / How to Make a Duct Tape Wallet
How to Make a Duct Tape Wallet
Necessary Materials and Tools
You will need the following tools and materials for making a duct tape wallet:
- Colorful duct tape
- Knife
- Protractor2 or ruler
- Any flat work space
Step-by-Step Guide
If you will follow our step-by-step instructions you will make a duct tape wallet in about one hour.
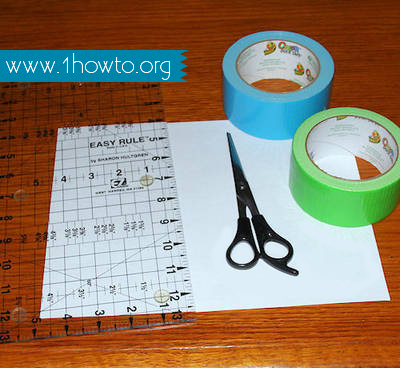
- Rip a ten-inch strip of tape. Place it on your work space sticky side up.
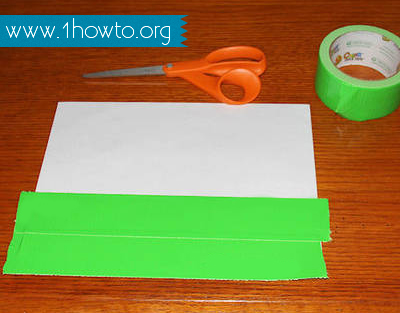
- Rip one more strip of the same length. Place it halfway over your first piece sticky side down.
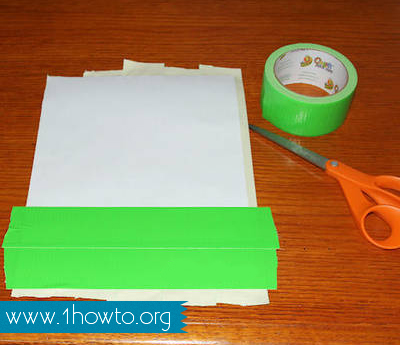
- Fold the remaining part of the first strip over the second one. Flip over these strips and put one more strip on them sticky side down. It should cover the sticky part or your second strip. Flip this sheet again. Go on extending it until you have a sheet which is 7 inches by 8.5 inches.
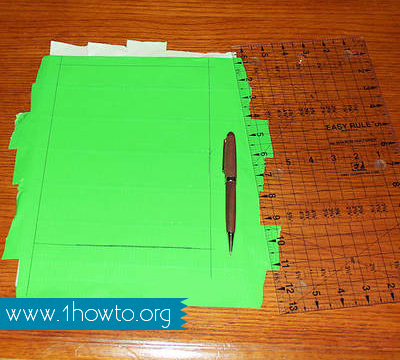
- Trim the edges of the sheet. Fold it in half. Tape two sides and bottom in order to make a pocket for bills.
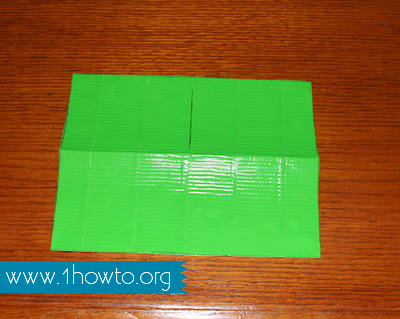
- If you need a pocket for business or credit cards, make one more sheet. It should be 3.5 inches by 4 inches.
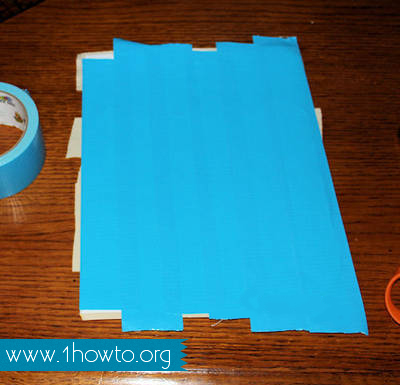
- Fold over 1.5 inches. In order to make two more sections, you need to repeat the previous step and tape together these two pieces. The second pocket should be taped a bit lower on the first one.
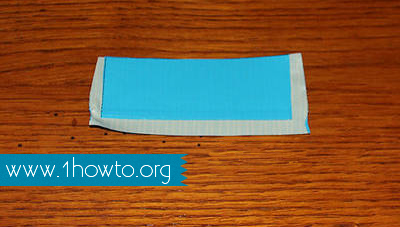
- Tape the pockets' edges and tape this piece to the wallet's large pocket.
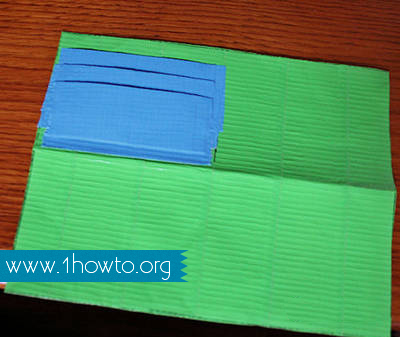
- Rip a sheet which is larger than the ID card. Cut it making a five mm frame. Trim its outside so that it is a bit larger than the ID. Three sides of this piece should be taped to the inside part of the wallet. You can also place it on the top of the pocket for credit cards.
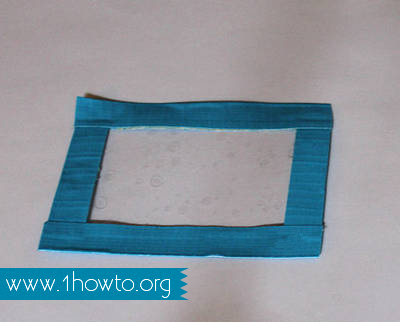
- Tape this pocket to the wallet.
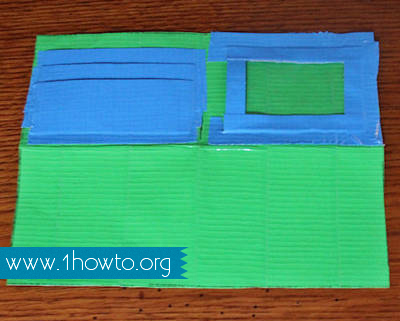
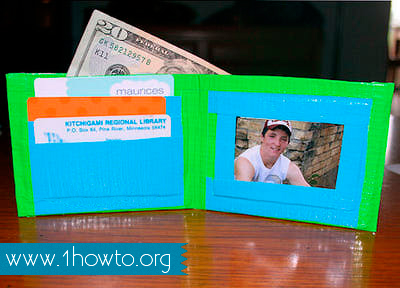
Your wallet is done, and you can put your ID, cards, and money into it. Now you know how to make a duct tape wallet.
You may be interested in:
Comments
